What the heck are hospital corners and why would someone want them in his or her home? Creating “hospital corners” is a technique used to fold bedsheets in a way that is both aesthetically pleasing and very difficult to kick off during the night. It’s called “hospital corners” because it’s the way that hospital bed sheets are primarily folded, and it’s also apparently the way members of the military make their beds as well.
The hospital corner “look” is essentially a beautifully clean and crisp line that runs horizontally down a corner of the mattress. In order to create it, the bedsheet folder may need to practice a few times – there’s no shame in the game!
Where to make the folds and how tight to pull the sheets will be highly dependent on the fabric and style of the sheet. Percale cotton sheets, for example, may naturally create a fold a little easier than a more buttery soft sateen sheet.
Never fear, no matter what bed sheet is available, a hospital corner can be made. Follow the easy steps we’ve put together in the video or scroll through our step-by-step instructions below.
Always comment below with any questions and when it comes to making hospital corners – practice makes perfect!
Check out our step-by-step instructions below.
1.
Place Fitted Sheet On The Mattress
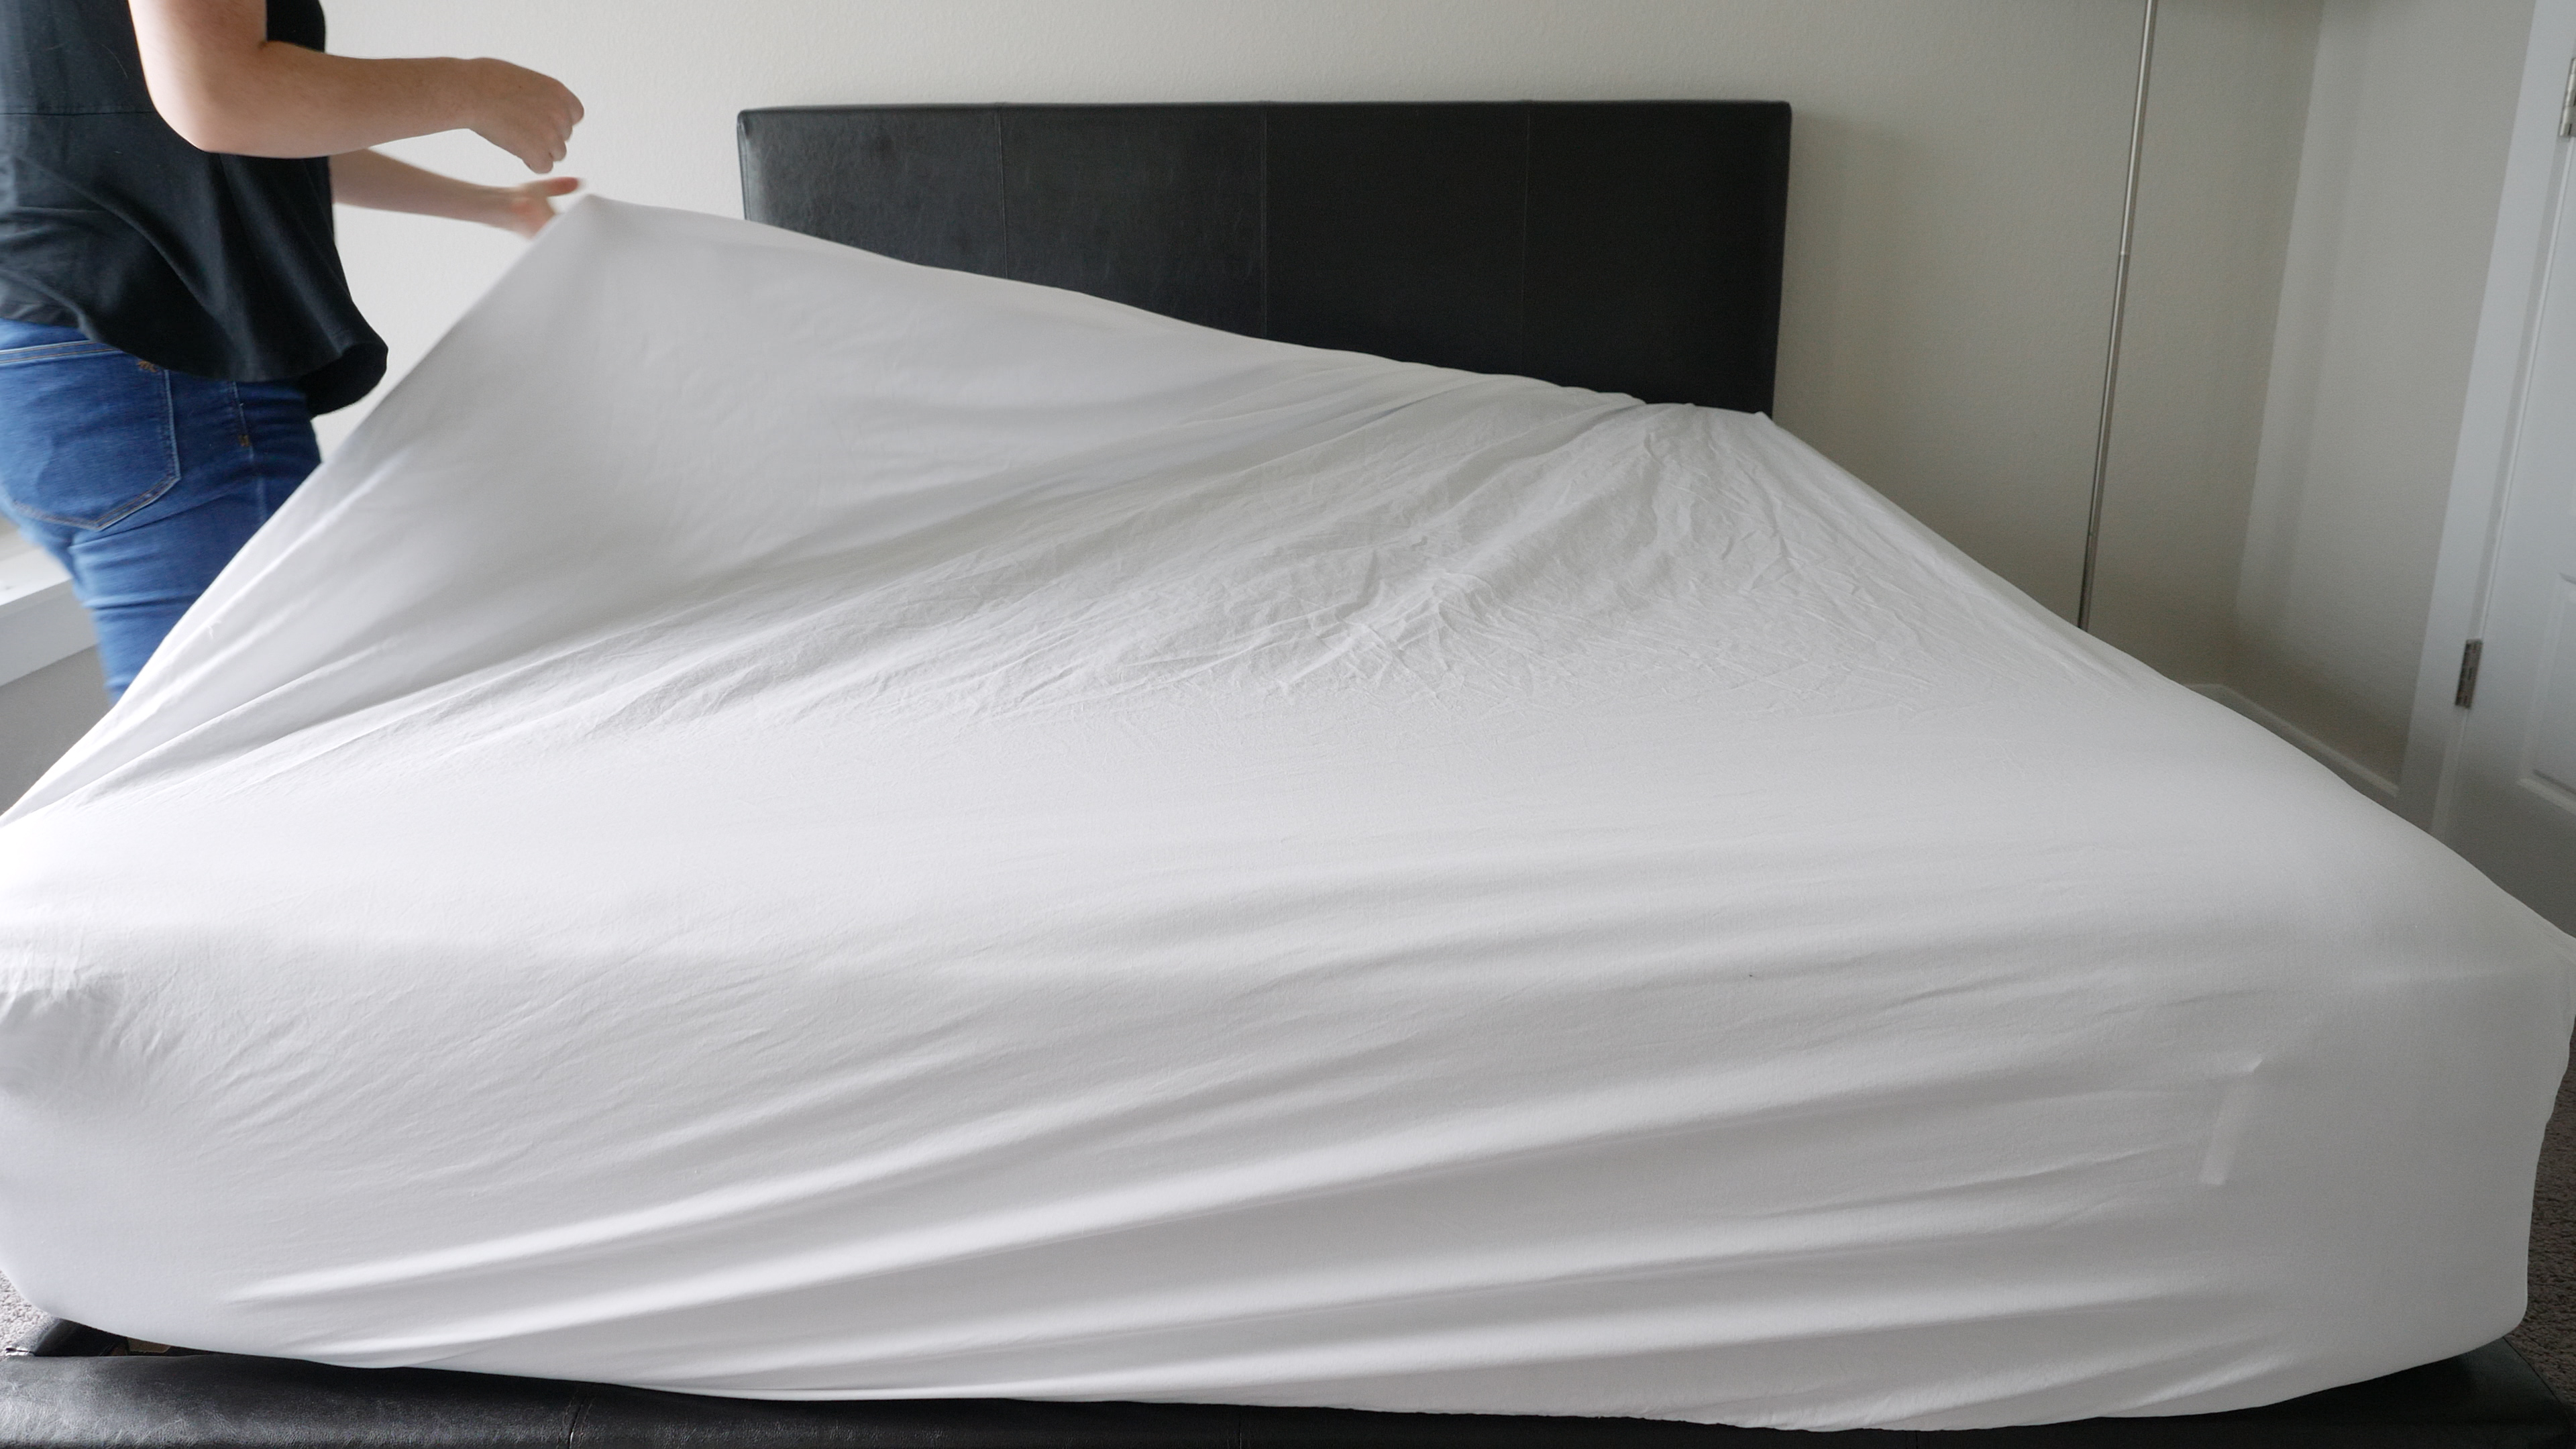 Put the fitted sheet over the mattress and make sure it’s tight and secure around the edges.
2.
Drape The Flat Sheet Over The Bed
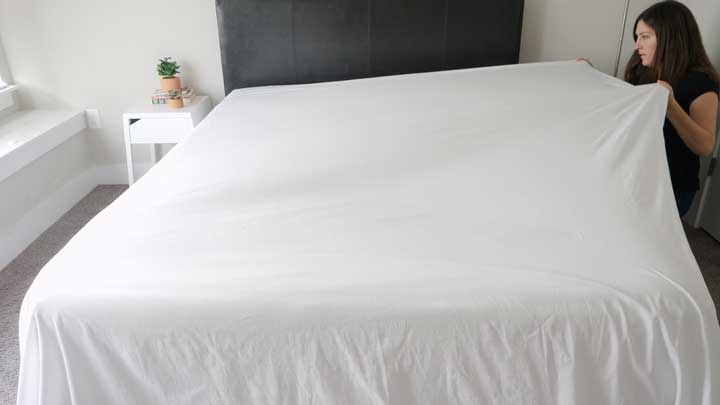 Place the flat sheet on top of the mattress and align the top of the sheet to the top of the mattress. To ensure a perfect hospital corner, make sure all three sides of the mattress that are exposed have an equal amount of sheet hanging over the edges.
3.
Tuck Flat Sheet Into The Foot Of The Bed
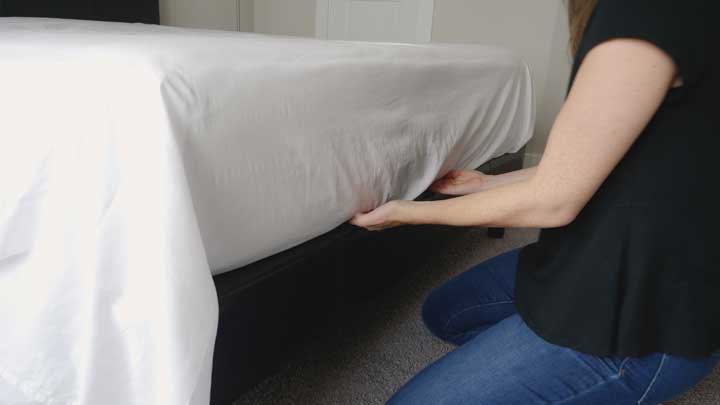 Start with the foot of the bed and neatly tuck the flat sheet into the bed.
4.
Bring Flat Sheet Up To The Top Of The Bed
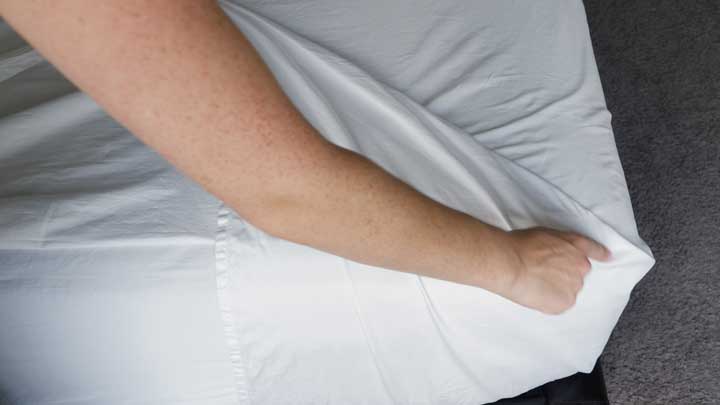 Head over to the left side of the bed. The sheet will be hanging off untucked. Grab the bottom of the sheet – not the corner but a few inches in – and pull it up so it’s lying across the top of the mattress at a 45-degree angle. Leave that section alone for now – we’ll come back to it.
5.
Tuck The Excess Sheet Into The Mattress
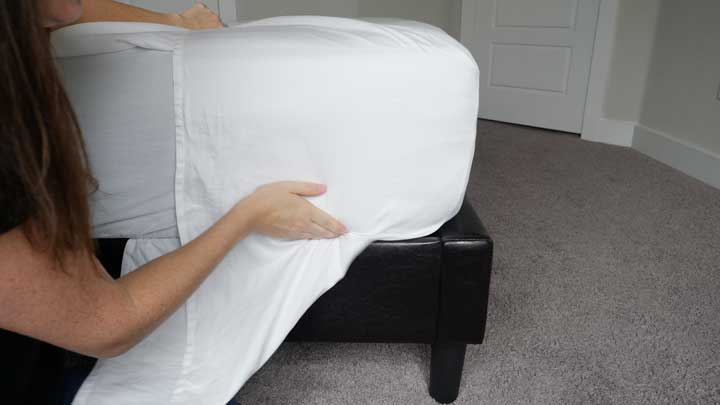 Once part of the sheet is folded and lying on top of the mattress, there will be some leftover still hanging off the bed – it’s hard to miss. Holding the sheet taught, tuck the leftover part of the sheet into the mattress.
6.
Pull Down Sheet And Fold
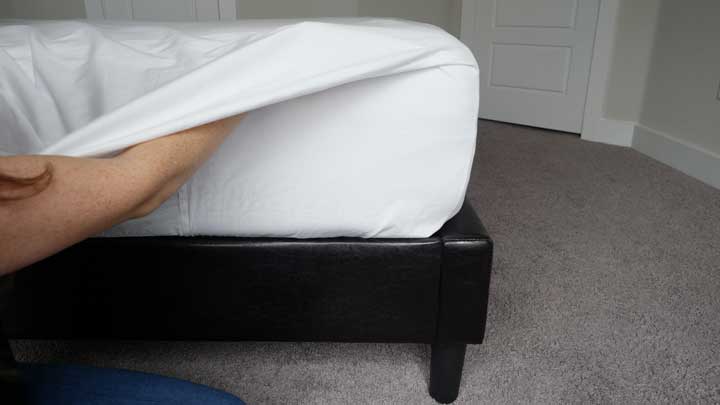 Now, head back up to where the initial portion of the flat sheet is hanging out. Place the hand along the top part of the mattress, right where the side of the mattress meets the top of the mattress.
Using the other hand, bring the flat sheet back down to be tucked in, allowing the flat sheet to fold over the hand that’s pressed up against the mattress. A horizontal crease should begin to appear.
7.
Make The Final Tuck
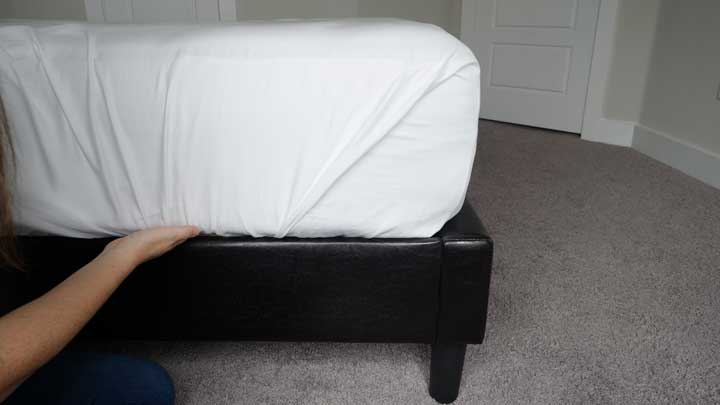 Keeping that flat sheet as tight and taught as possible, tuck the remaining flat sheet into the mattress. A clear crease in the sheet should be visible (this is created from the initial tuck with the “leftover” sheet and the second tuck.)
Tips & Tricks
Describing to someone how to fold a bedsheet in a particular way can be tricky, but following along with the video and repeating the steps a few times should be enough to get the hang of it.
Sheets made with a more structured fabric, like a percale weave cotton as opposed to softer bamboo sheets, will have that more classic horizontal crease that is indicative of hospital corners. That being said, it can be achieved with any type of bedsheet and should absolutely create a snug fit at the end of the bed.
FAQs
No schema found.